Jawad

JAWAD AHMAD NAGI

Garry Wilcox, Author at One Sky Photography

Buying a camera

Buying a camera

Which type of camera is best for you – smartphones, compacts, bridge cameras, DSLR’s and mirrorless. This video explains the advantages and disadvantages of each type. I’ve also listed some of the best value cameras below.

Best budget cameras

  • Canon EOS R50
  • Nikon Z50

Best value cameras with full frame sensors

(Full frame cameras are best for professional photography).

Budget

  • Canon EOS R8

High end

  • Sony a7 IV
  • Canon EOS R6

Bridge/ Super Zoom cameras

  • Nikon Coolpix P950

Compact cameras

  • Sony RX100 VII

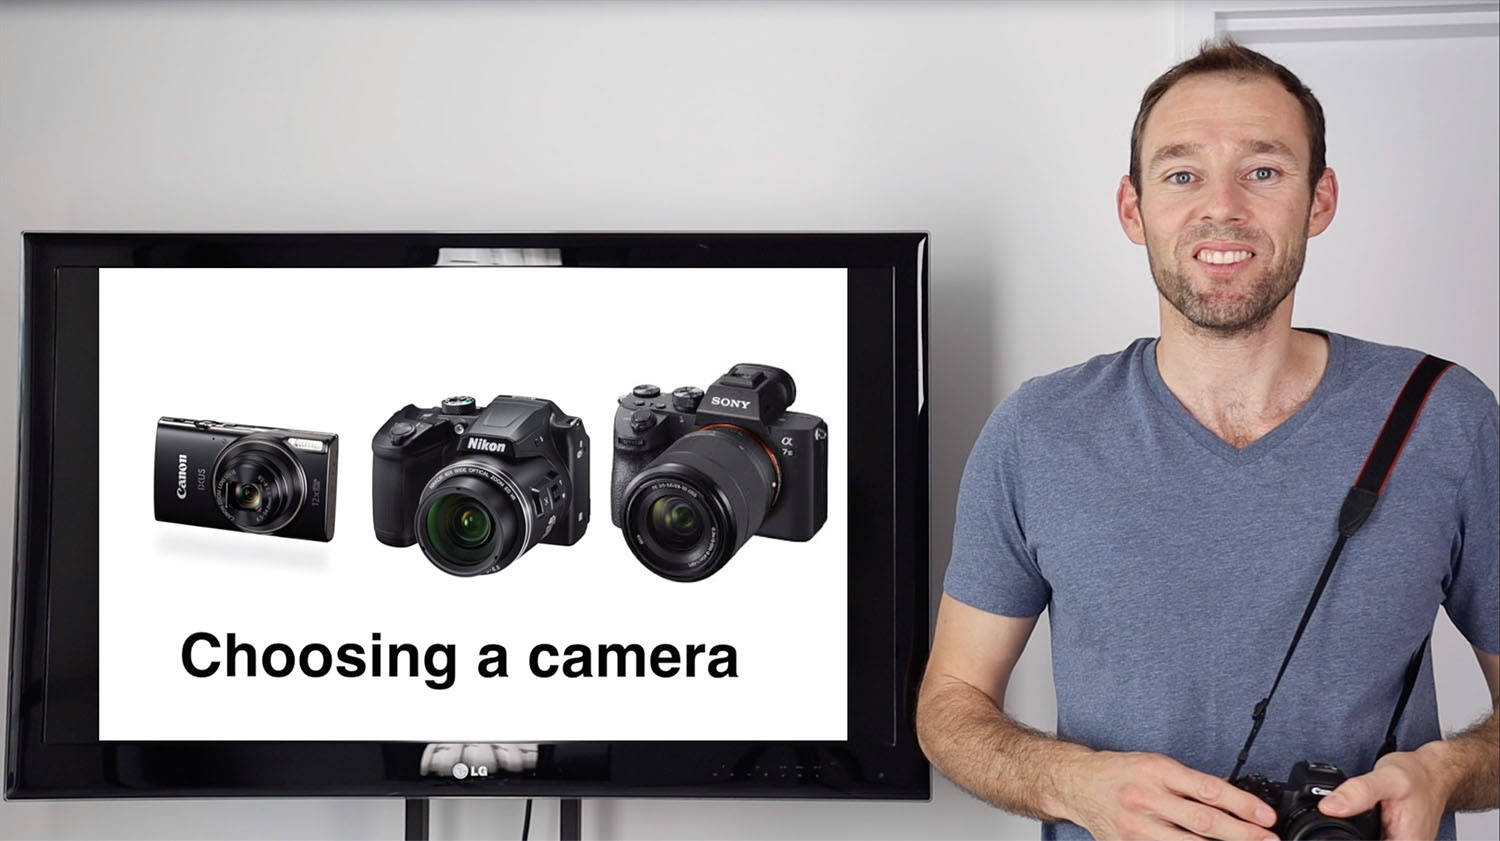
Choosing a Camera Transcript

Hi I’m Garry Wilcox from One Sky Photography Courses. Today we’re taking about choosing a camera. A lot of people ask me what’s the best camera and that’s a hard question to answer. There’s so many cameras available and there are pros and cons of each. Some are small and super portable but often they are fidgety and hard to access buttons. Others have heaps of features but sometimes this can over complicate things.

So, choosing a camera is a very personal choice. A good starting point is to know what type of camera would suit your needs. Then you can start narrowing down your choices. There are 5 main types of popular every day cameras – smart phones, compacts, bridge cameras, DSLR’s and mirrorless. Let’s take a quick look at the advantages and disadvantages of each

If the best camera is the one that’s with you then Smart phones take first place. If you just want to capture every day moments and mainly use your images for social media they are an excellent choice.

Obviously, they are super portable and they can take a pretty good photo however they have their limitations.

Firstly, the sensors that record the image are very small which means the quality of the image won’t be as good as on a camera with a larger sensor. This is particularly apparent in low light but the phone brands are continuing to improve their low light performance.

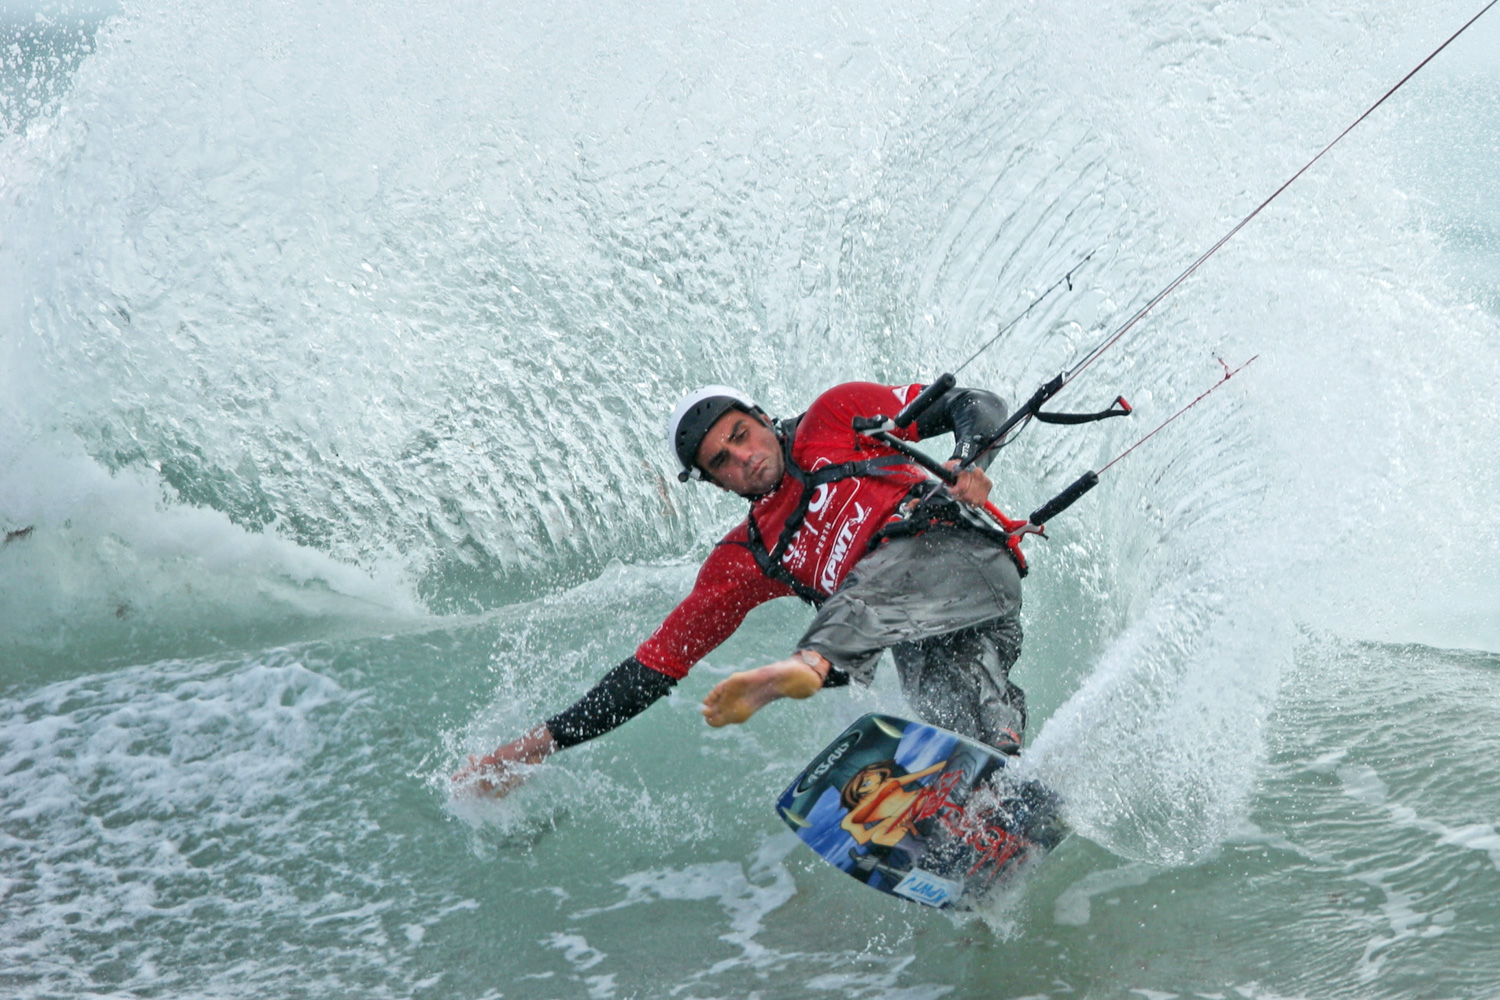
The small sensor also means a much smaller dynamic range of tones from the highlights to the shadows. In other words, you don’t get as much detail in brightest and darkest parts of your image. If you are photographing water the white wash can just be pure white without the detail of the water drops.

Smart phones also have very limited optical zooms so don’t perform well on subjects that are far away.

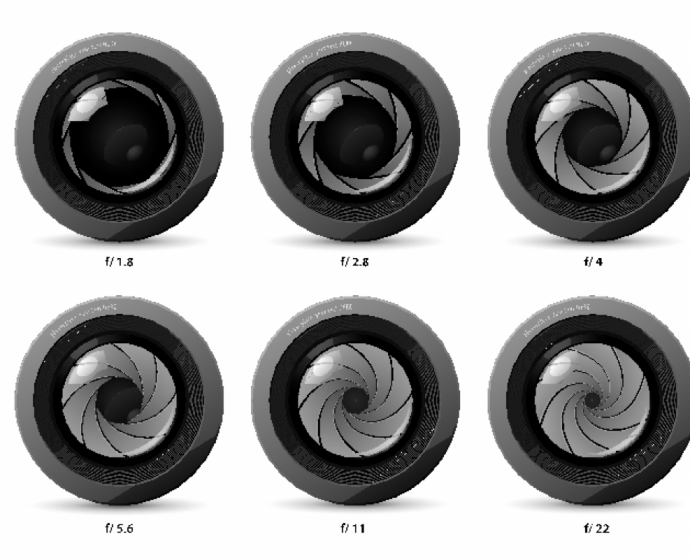
Most smartphone cameras come with fixed aperture lenses. The purpose of the aperture is to increase or decrease the amount of light reaching the camera. Plus, it also serves to reduces or increases the area that stays in sharp focus. On most smart phones, you can’t change this but they do have software that can create that blurry background look.

Let’s look at compact cameras. They give you more creative control than a smart phone and  a bigger optical zoom range. You also have more control over the aperture.

Compact cameras usually have a slightly bigger sensor than smart phones. This means higher resolution and better low light performance. However, the sensor is still usually smaller than on a DSLR or mirrorless camera.

These cameras are still portable and the lens usually retracts into the body so they take up very little space. The lens however will not have the optical zoom range of the bigger cameras and they have a smaller aperture range.

Bridge cameras bridge the gap between a convenient compact and the bigger DSLR style cameras. With their large handgrips and electronic viewfinders, they offer a handling experience that’s similar to DSLRs,

They usually have a bigger optical zoom range than a compact. This means you can capture subjects that are further away. So, they are sometimes referred to as superzoom cameras.

The biggest drawback of these cameras is that unlike DSLRs and mirrorless these lenses are fixed to the body so cannot be changed.

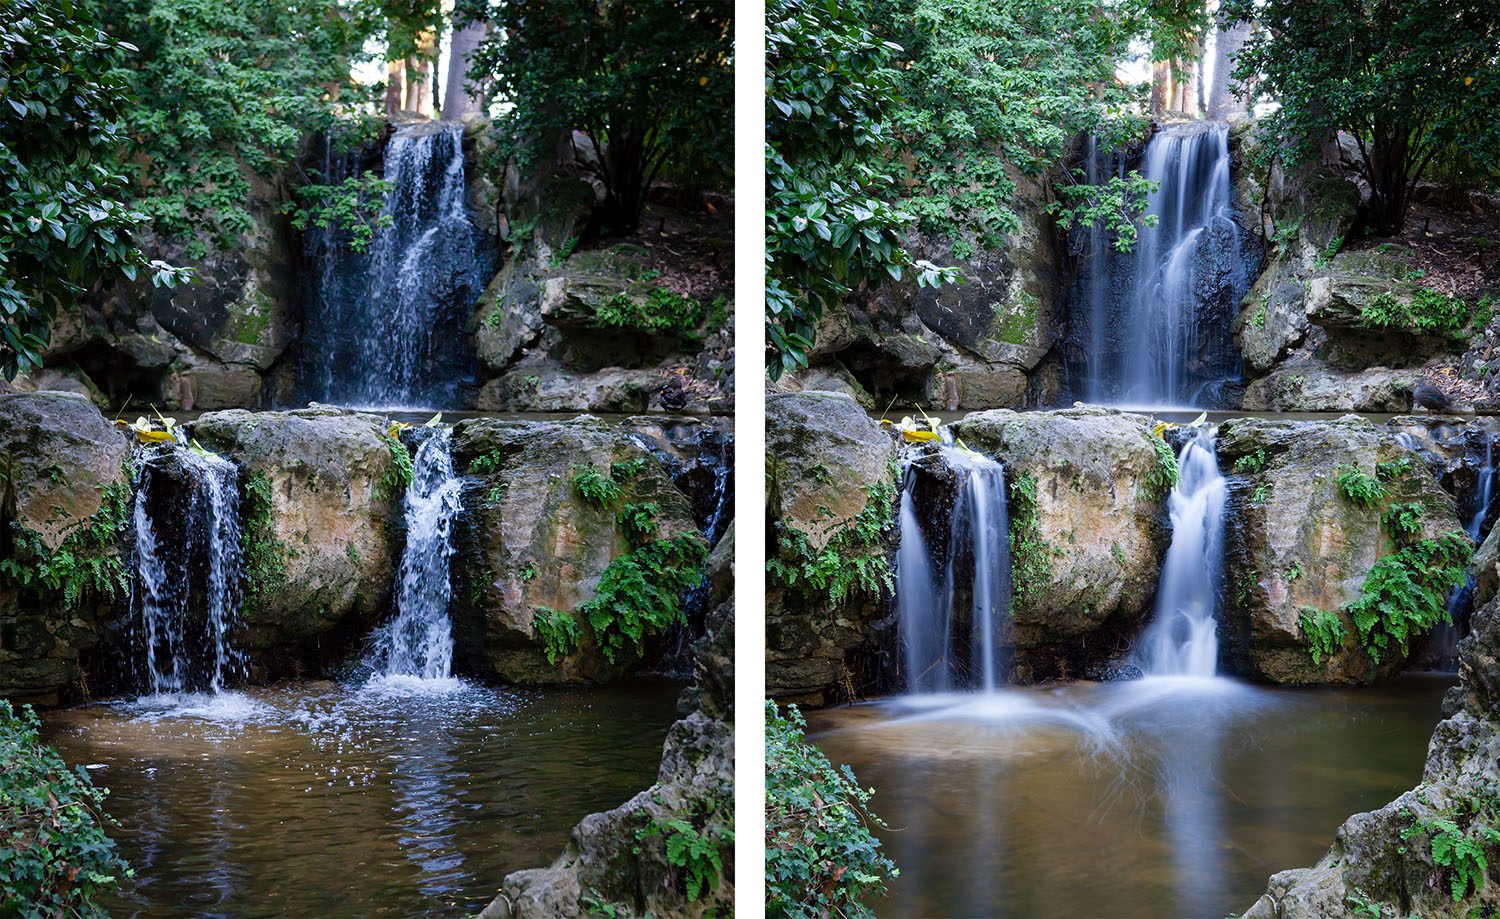
Mirrorless and DSLR are the cameras most professionals use as they provide the best image quality. These cameras allow you to change the lens. If I’m photographing things that are far away I can use a telephoto lens or if I want to capture expansive landscapes I can put on a wide-angle lens. I can also get lenses with a great range of apertures so I can let more or less light into the camera. This is important when you want to freeze or blur movement.

Mirrorless and DSLR cameras have a large sensor meaning they perform much better in low light. They have a greater dynamic range which means you get more detail in the darkest and brightest areas of your photo.

These cameras also have faster auto focus so you can consistently get sharp images.

DSLR’s are the tradional style usually slightly bigger cameras with a mirror inside them.

Mirrorless cameras are the newer technology. They have the advantage of usually being lighter and more compact. You can also see an electronic preview of your image to help work out your exposure and camera settings. This is especially useful for night photography.

Mirrorless cameras are definitely the future however dslrs are very reliable work horses that have been tried and tested for decades. They are often great value for money. They offer longer battery life because they have the ability to shoot without using the LCD screen or electronic viewfinder which uses a lot of power.

Whichever mirrorless or DSLR camera you buy just remember you are buying into a system in which you are likely to add accessories to over the years. Perhaps you’ll buy another lens or maybe a flash. Once you have accumulated other lenses and a flash it becomes too expensive to change brands. So don’t just look at which camera is best consider which system is best.

You should also consider spending more money on lenses rather than on cameras. People often don’t realise how important the lens is for getting sharp beautiful images.  Cameras are like computers and most of us will upgrade them every few years while good lenses can potentially last a lifetime.

If you have any questions or suggestions please leave a comment below. Please like and subscribe to see more videos. You can also download free cheat sheets from my website: onesky photography.com.au I run a range of photography courses in Perth Western Australia.
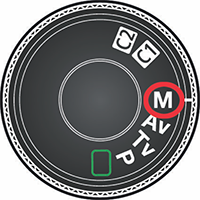
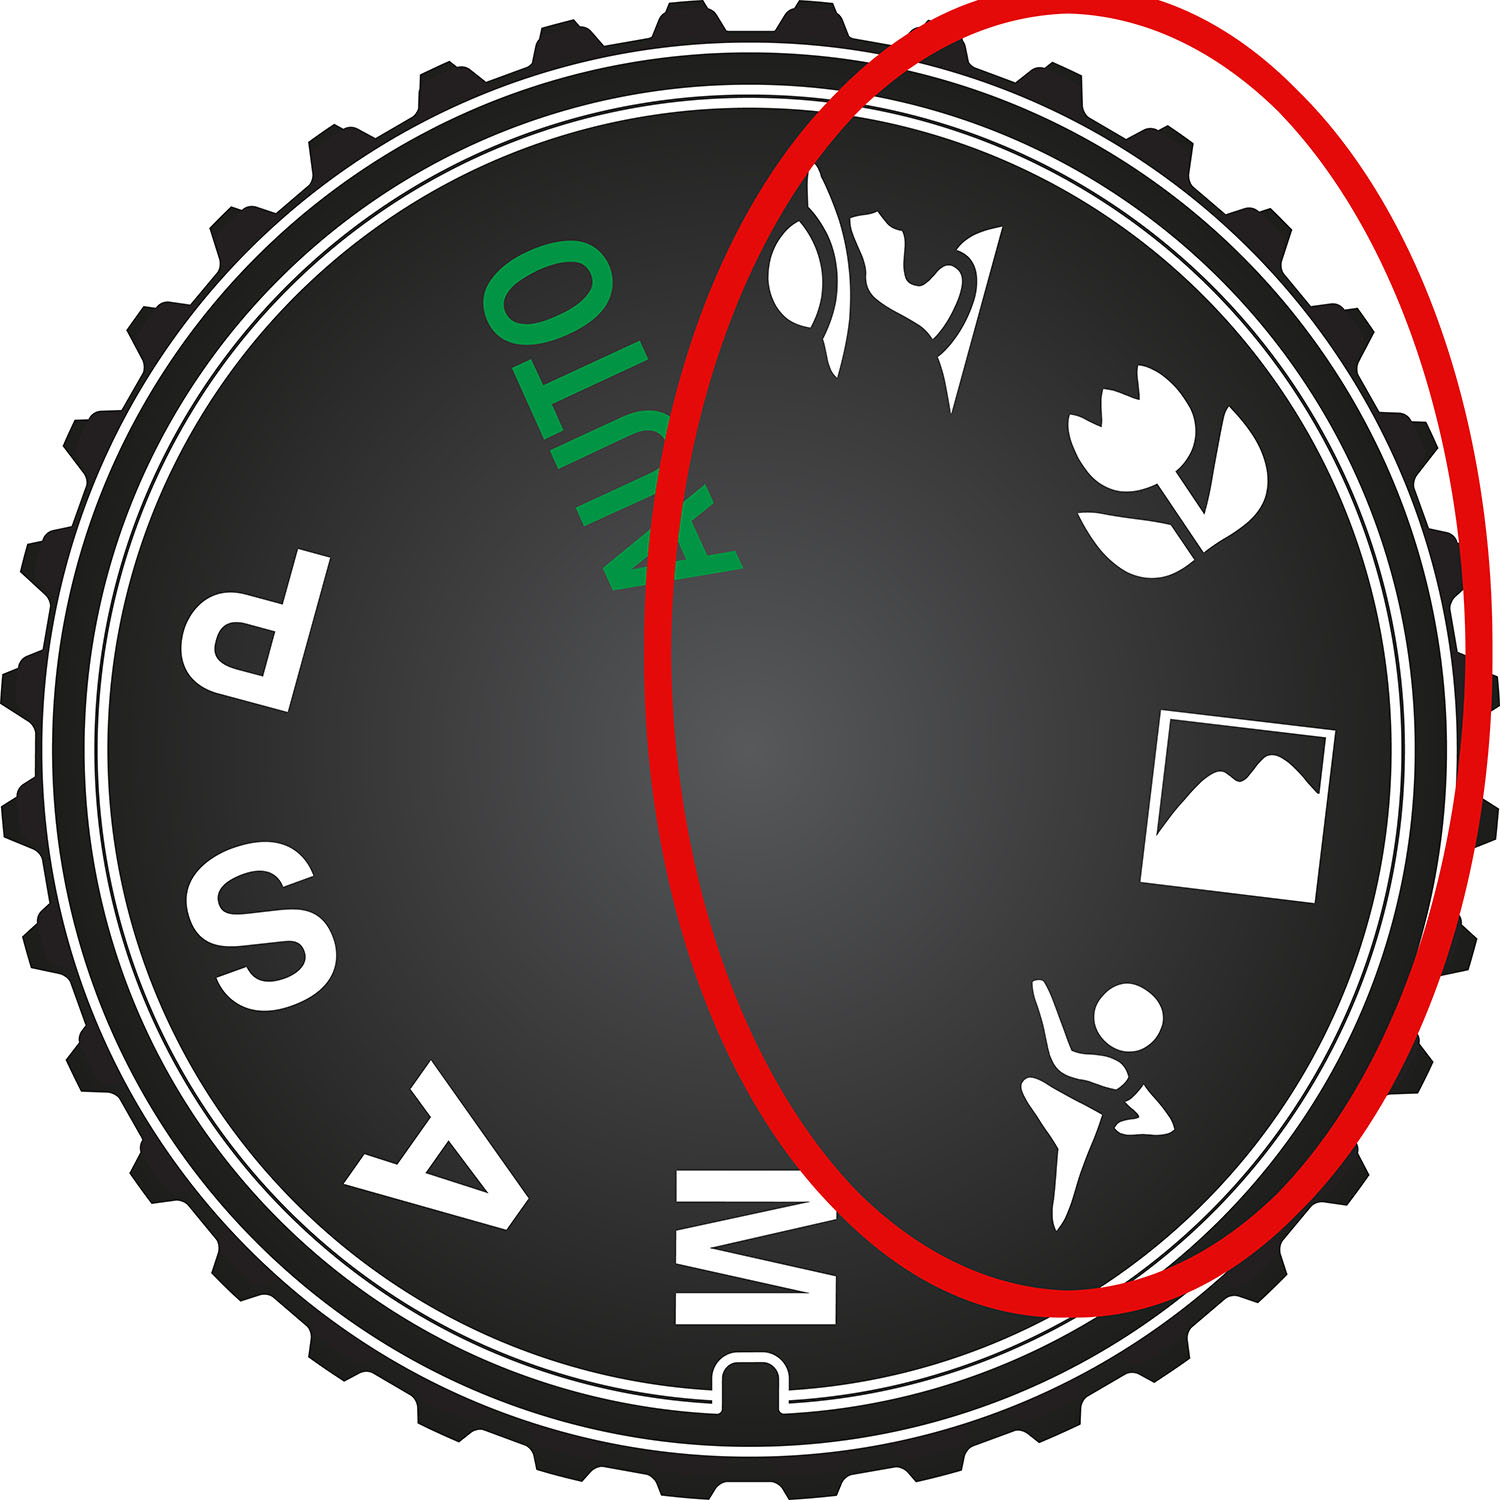
How to photograph families

Magical moments; Beautiful lighting and strong compositions. If you have a strong understanding of these elements you’ll capture some beautiful images. It doesn’t matter what camera you’re using.

Audio Script

Magical moments; Beautiful lighting and strong compositions. That’s it. If you have a strong understanding of these elements you’ll capture some beautiful images. It doesn’t matter what camera you’re using.

My name’s Garry Wilcox from One Sky Photography Courses and today we’re are learning how to create beautiful family images you’ll be proud to display in your home. I’ve got a free cheat sheet summarising this lesson you can download from the resources page at oneskyphotography.com.au

Family photography is about capturing moments and real emotion, it’s not about cameras. Don’t ask people to smile, get them doing something fun like giving a piggy back or playing in the park.

When you get a real smile or laugh always be ready to capture it. Don’t get bogged down in camera settings or thinking about apertures and shutter speeds that you miss moments. If you’re spending too long playing with your camera your family is going to get bored and you’re going to get fake cheesy smiles.

Use Auto mode  if you have to. P mode is a great mode for beginners to use. It’s fully automatic just point and shoot but you have more options than the Auto mode. When you get faster you can use the other modes.

Moments happen spontaneously but sometimes you can predict what’s going to happen next.  After finishing a photo shoot of this boy and his parents he ran to his grandmother for a hug. Although the grandmother wasn’t planning on being part of the shoot I had my camera ready for this beautiful moment.

You don’t want your subjects squinting in the midday sun or have half their face in shadow. You need to find soft, directional light. Overcast days are great because the clouds soften and diffuse the sun, meaning no harsh shadows. If it’s a sunny day, find some shade under a tree or door frame.

This image was taken under a veranda at midday.

Usually when it is time for the family portrait you get everyone standing together almost like a police lineup. Having everyones head in a level row is not that exciting. If you get everyone sitting and stagger everyone’s head position you get a much more interesting image.

If you’re going to get them to stand, get them moving. Perhaps walking or running together towards the camera. It often results in a lot of candid laughs and much more dynamic images.

“If your photos aren’t good enough, then you’re not close enough” (That’s what famous photojournalist Robert Capa once said. Family portraits are all about people. Get closer and focus on the people and their expressions. If the background, legs, feet etc aren’t adding anything to the moment, crop them out.

Most of us take photos at eye level, which means all our family portraits look the same. Just by bending your knees or shooting from a different perspective will give you unique images.

If you are not sure how to place all the family members, a good starting point is to make a triangle or pyramid with the tallest person in the middle. Triangles are pleasing to the eye. Remember family portraits are all about relationship and connection so always ask them to squish in a bit tighter.

“It is more important to click with people than to click the shutter” (Eisenstaedt).
The best photographers don’t necessarily have the best cameras or the most technical knowledge. However, they know how to relate to children and grown-ups from all walks of life and how to make them feel relaxed in front of the camera and ultimately capture authentic moments.

Remember capturing great images is not about cameras it’s about capturing real moments, finding good lighting and strong compositions.

Don’t forget you can download my free cheat sheet summarising all these tips. Visit oneskyphotography.com.au and click on resources

Please like and subscribe to see more videos. If you have any questions you can let me know in the comments below.

I run a range of photography courses in Perth, Western Australia. Visit my website for more information.


Best Photography Locations in Perth

Fremantle Photography Course Perth

Perth has no shortage of beautiful places for landscape photography. Generally speaking the best time for landscape images is at either sunset or sunrise. Some of my favourite locations include:

Fremantle

If you were going to choose one photography location to capture a variety of unique images it should be Fremantle (picture above). The beautiful heritage buildings, the industrial port and harbour provide so many photographic locations within a short walk.

Cottesloe Beach

Probably the most famous beach in Perth, Cottesloe is a great location for iconic images of the groin and Indiana Tea rooms.

Cottesloe Photography Course

North beach

North beach jetty is a local landmark and an awesome foreground when photographing the setting sun. Fishermen casting a line make a great silhouette.

Landscape Photography Course


John Oldham Park

Located between Kings Park and the city. Although it is a very central location it is surprisingly less well known than other parks in the area. The park has a beautiful waterfall and is also popular with bird photographers.

Perth Landscape Photography Course

Scarborough Beach

This beach is popular beach with surfers and tourists and has seen a lot of development in recent years. The new pool, restaurants and artwork provide lots of photographic opportunities.

Scarborough Landscape Photography Course

Kings Park

Its elevated position overlooking Perth and the Swan River has made it one of the most popular locations for tourists. It is a massive park with a large variety of plants. It is especially popular during the Spring flower festival.

Kings Park Photography Course-1

Photography Courses in Perth

I’m passionate about teaching people how to use their camera to capture great moments. I’ve planned a series of photography workshops for beginners, around Perth. Spend an afternoon with me and learn how to use your camera to capture some beautiful moments. View my courses here or call me on 045 222 1133

Portrait Photography Locations in Perth

Beach Portrait Photography Course

When choosing a portrait photography location look for shaded areas with diffused, natural light. Find backgrounds that don’t distract from the person you are photographing. Here are a few of my favourite places:

Port Beach, North Fremantle

With spectacular views from the car park the sugar-like sand stretches to Cottesloe and provides a clean background for portraits. There’s no shade here so you need to put the sun behind your subject so they are not squinting or bring a beach umbrella.

King Street, Perth

The area around Kings Street not only has a variety of high end shops but also some great alleyways and graffiti lanes that make fantastic, textured backdrops.

Perth Portrait Photography Course

Perry’s Paddock, Woodvale

Situated in Yellagonga Park the rustic cottage and stables on this heritage site can really compliment your portraits. The expansive fields and winding walking trails are ideal leading lines and are perfect for walking portraits.

Perry's Paddock Portrait Photography Course

Trigg Beach

Just north or south of the main surfing beach you can find a quieter spot that makes for some great portraits of the beach, sand dunes and even fences. There’s no shade so, to avoid hard shadows and your subjects squinting, it is best to organise your shoot at sunset.

Trigg Photography Course

Fremantle

Fremantle offers the most diverse range of backdrops in the one location. Being a colonial port town it has a lot of old buildings as well as rustic bars and walls covered in graffiti. It also has a beautiful harbour and beach.

Freshwater Bay, Peppermint Grove

At the end of a wooden jetty on the Swan River the chipped paint and old timber on this historic boat shed provide some great textures. It’s less well known than Crawley Boat shed and easier to access. There’s lots of photographic options on the adjacent grassed foreshore, park and small beach.

Mosman Photography Course

Photography Courses in Perth

I’m passionate about teaching people how to use their camera to capture great moments. I’ve put together a series of courses designed especially for beginners, at beautiful locations around Perth. Spend a few hours with me and learn the skills to capture a lifetime of beautiful moments. View my courses here or call me on 045 222 1133

Photography course notes

Sports Scene Mode

The goals of this photography course are:

  • Understand the various camera modes and when to use them
  • Get off auto mode and have creative control
  • Get sharp and correctly exposed image

Camera Modes

The best camera mode depends on what you’re photographing and how much time you have.

Auto mode usually works well in easy lighting situations. If you are taking a photo with the sun behind you illuminating the subject it is very easy for the camera to get a correct exposure. However Auto mode often doesn’t work in difficult lighting scenarios. If you photograph a friend at the beach with the sun setting in front of you (behind your friend) they will be too dark or even a silhouette. In this situation it would be best to choose a different camera mode.

Scene Modes

Scene modes are pre-set exposure modes. The camera will try to choose the best shutter speed and aperture for that subject. It may also adjust the ISO and fire your flash. Some of the most common scene modes are below:

Portrait Mode

The camera will usually use a small F number to give a small depth of sharpness. This means the background and/or foreground is blurred and doesn’t distract from the person. You can increase the blurry effect by zooming in and keeping the background far from the subject.

Depending on which model camera you have,  portrait mode may also enhance skin tones and soften skin texture.

Portrait Scene Mode

Landscape Mode

The camera uses a large F number to give a large area of sharpness. This means both the foreground and background are sharp. The camera may also make colours more vibrant.

Fremantle Photography Course Perth

Action/ Sports Mode

The camera uses a fast shutter speed to freeze the action.

Action Photography


Understanding your camera

Mode P (Programmed Auto)

This is a great mode for beginners. The camera automatically adjusts exposure but you can control:


  • Flash
  • Exposure compensation (brighten or darken the image)
  • Focusing
  • ISO

Exposure

Getting the right amount of light. The image on the left (below) is underexposed. We have lost detail in the black suit. The image on the right is overexposed. We have lost detail in the white dress. Ideally we want detail in the highlights and shadows.

Underexposed, correctly exposed and over exposed images.

Camera Exposure

3 things control exposure

ISO

Refers to the sensors sensitivity to light. The higher the ISO the more sensitive your camera is to light.

The lower the ISO the better the quality as there is less noise. Noise is the grainy look in your photos.

Shutter

The length of time the curtain in your camera is open. This is measured in fractions e.g. 1/60 second.

Camera Shutter


Aperture

The hole in the lens which lets light through. The aperture controls the amount of light reaching your camera. The aperture is measured in f stops.

Camera Aperture

A or AV Mode (Aperture Priority)

You choose the aperture and the camera chooses the shutter. Use AV mode when you want to control background blur.

A small F number e.g. F 2.8 or F4 gives a small area of sharpness (small depth of field). The background is blurry. Commonly used for portraits. A large F number e.g. F14, F16  gives a large area of sharpness (large depth of field). Everything is sharp. Commonly used for landscapes. 

The photo below was taken at F2.8.

Small depth of field

The next photo was taken at F16

Small depth of field


Camera Shutter

S/ TV Mode (Shutter Priority)

You choose the shutter speed. The images below shows two different shutter speeds. Fast shutter speed 1/200 sec vs Slow shutter 30 seconds.


Shutter speeds effect on photos

A fast shutter speed (faster than 1/200) lets in less light and freezes motion.

Understanding Camera Shutter Speeds-2

A slow shutter speed (1/60 or slower) lets in a lot of light and captures motion blur. Great for photographing waterfalls, or light trails from cars.

Understanding Camera Shutter Speeds-3

Manual Mode Photography Course

Manual Mode

You control the aperture and shutter speed.

Manual is useful:

  • in the studio when you are using   off camera flashes and strobes.
  • shooting at night.
  • being creative

How to shoot in manual mode

  • Choose the ISO
  • Choose the aperture
  • Set the shutter speed for a correct exposure
<1 / 2 >

Sign up to receive tips, tricks and helpful advice delivered straight to your inbox

X