Photography course notes
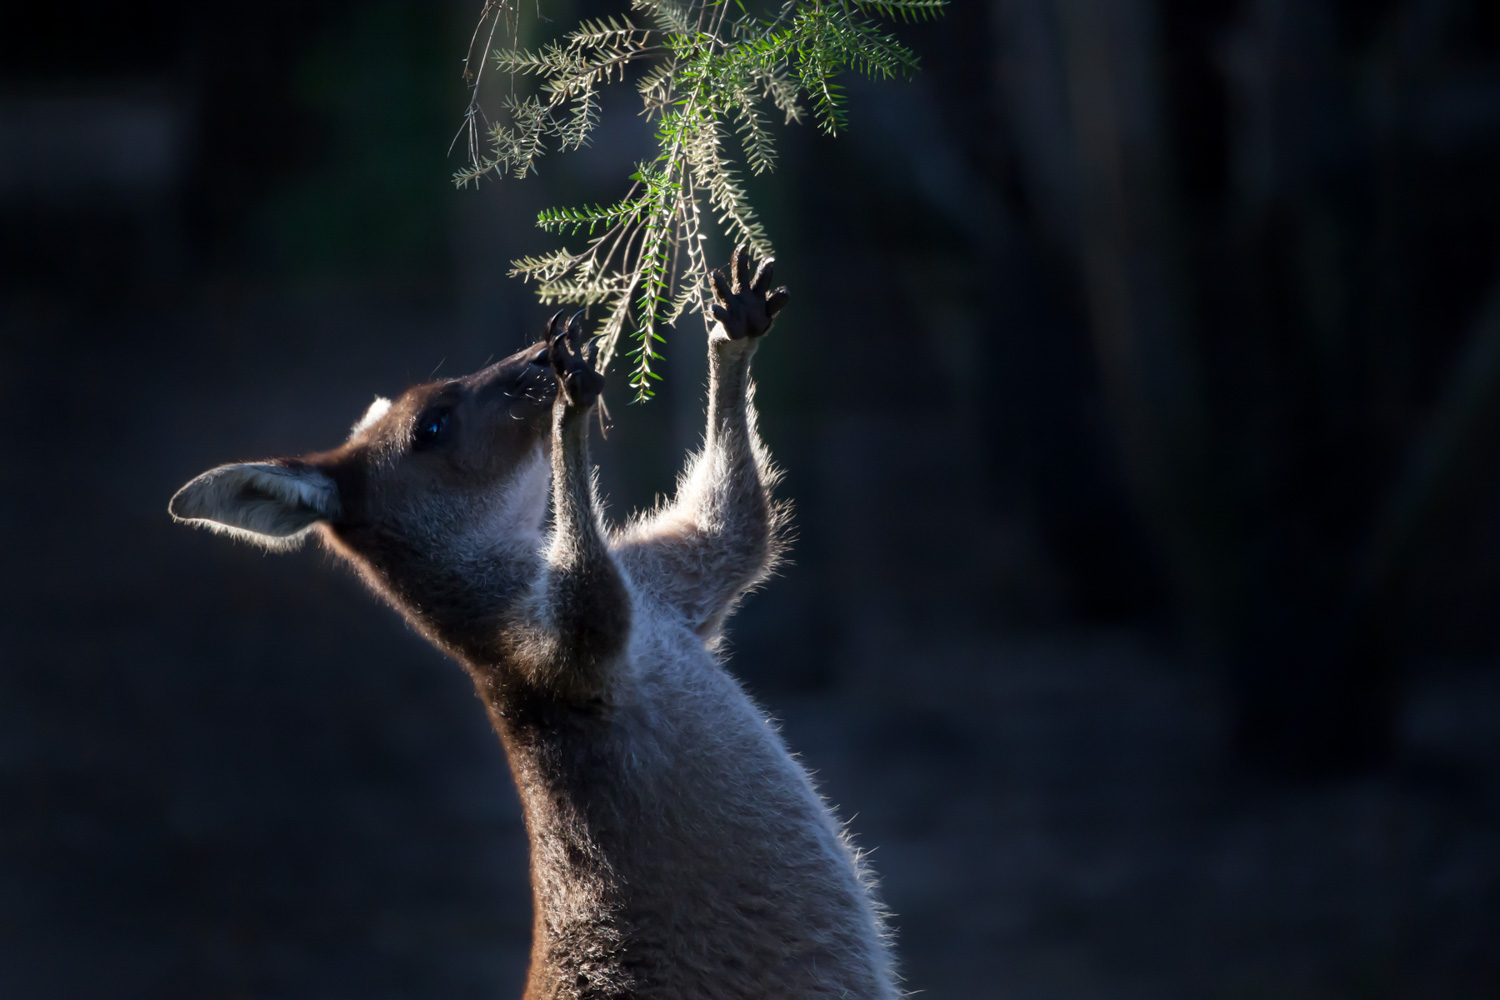
The goals of this photography course are:
- Understand the various camera modes and when to use them
- Get off auto mode and have creative control
- Get sharp and correctly exposed image
Camera Modes
The best camera mode depends on what you’re photographing and how much time you have.
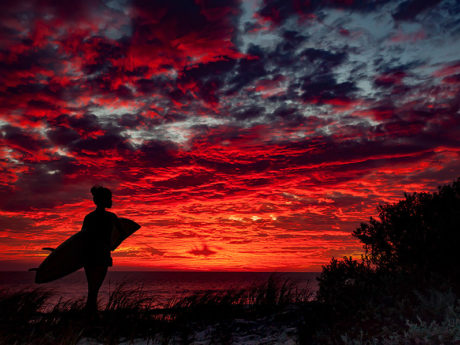
Auto mode usually works well in easy lighting situations. If you are taking a photo with the sun behind you illuminating the subject it is very easy for the camera to get a correct exposure. However Auto mode often doesn’t work in difficult lighting scenarios. If you photograph a friend at the beach with the sun setting in front of you (behind your friend) they will be too dark or even a silhouette. In this situation it would be best to choose a different camera mode.
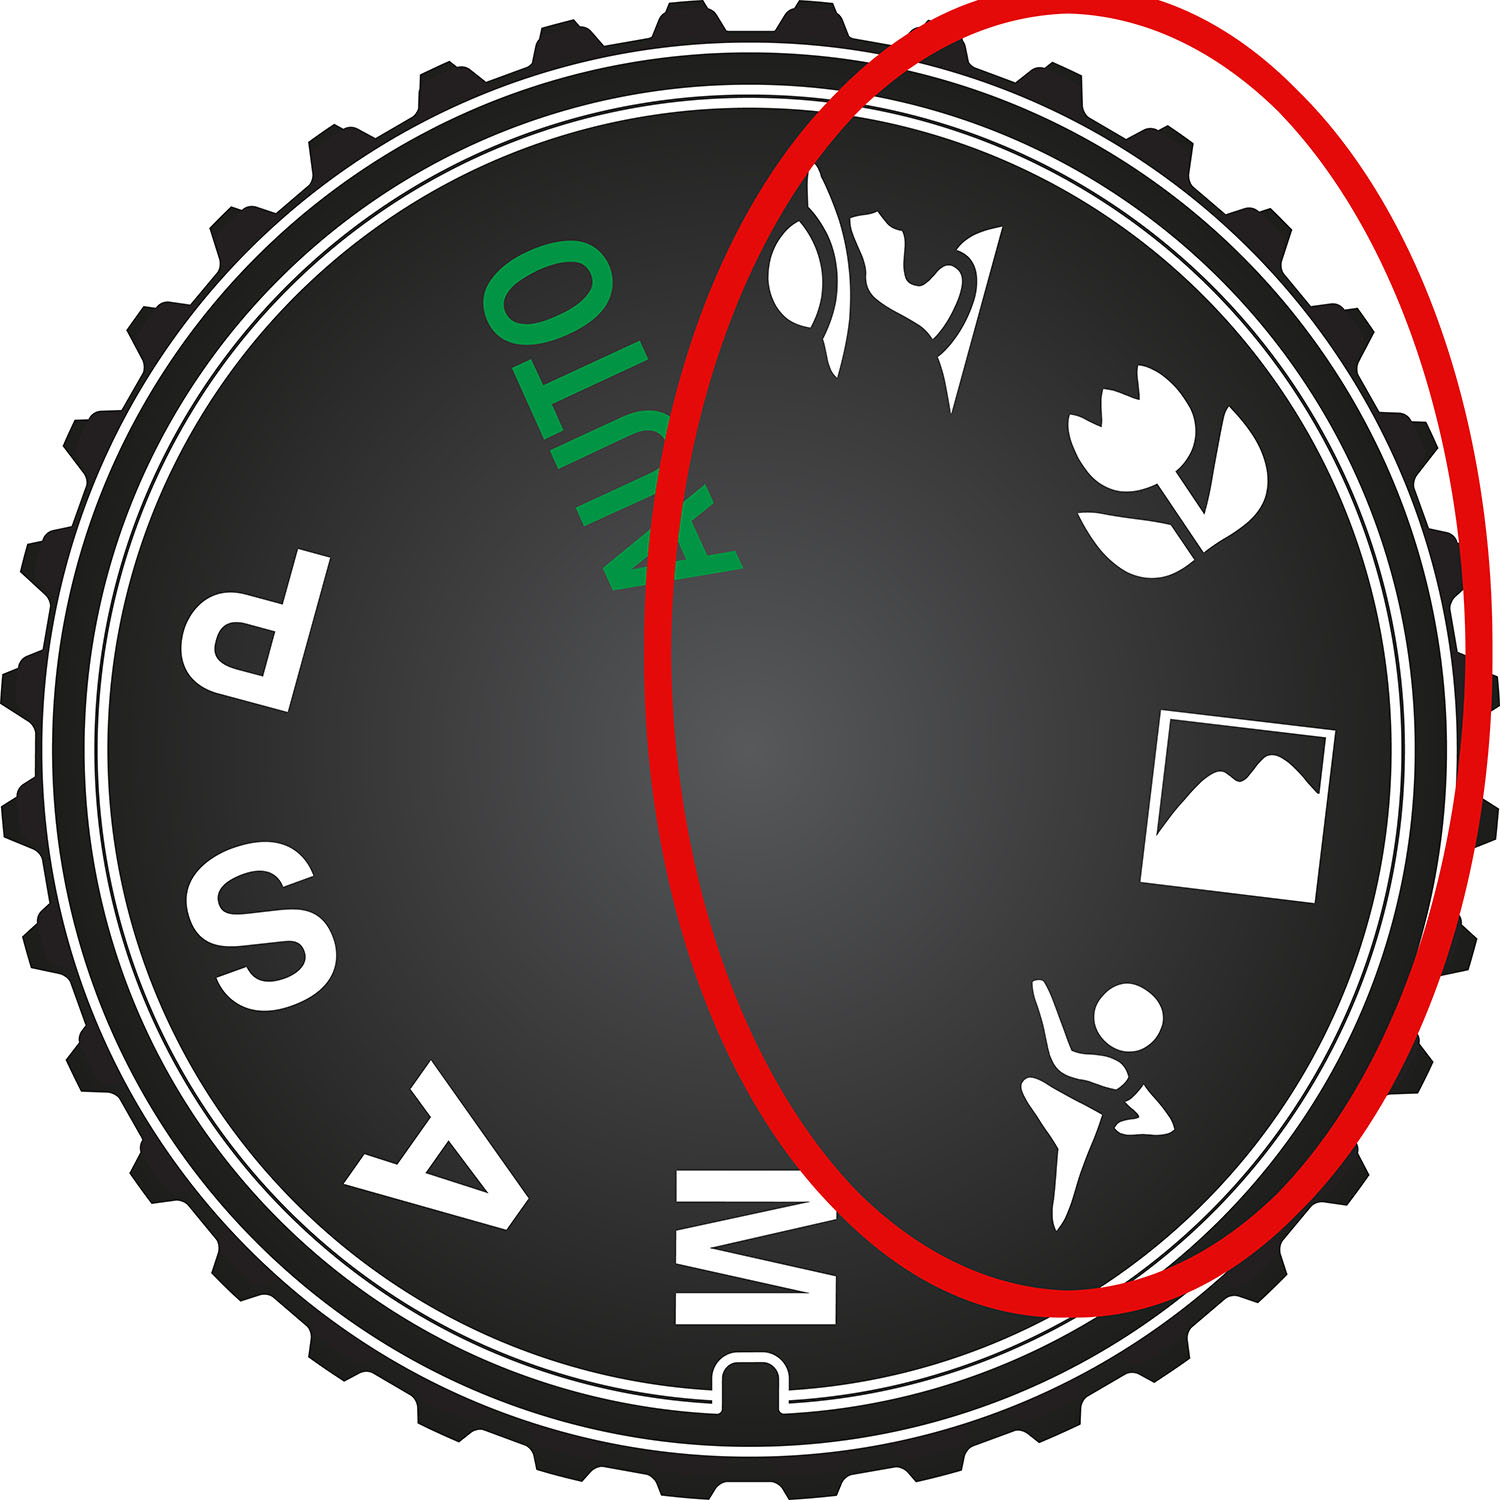 Scene Modes
Scene modes are pre-set exposure modes. The camera will try to choose the best shutter speed and aperture for that subject. It may also adjust the ISO and fire your flash. Some of the most common scene modes are below:
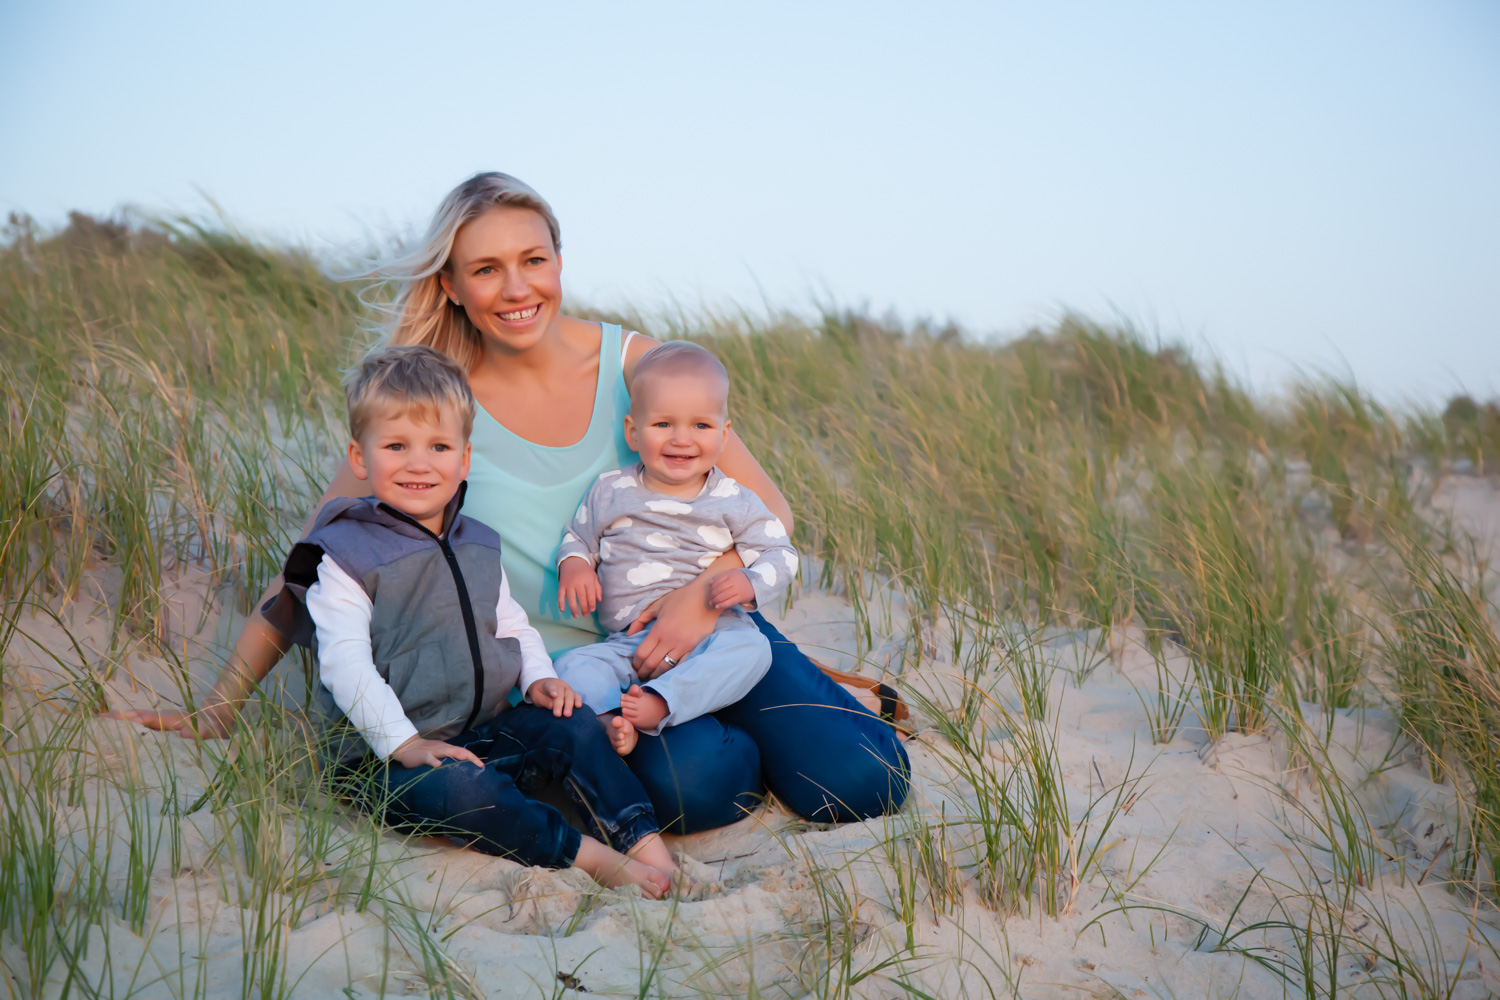
Portrait Mode
The camera will usually use a small F number to give a small depth of sharpness. This means the background and/or foreground is blurred and doesn’t distract from the person. You can increase the blurry effect by zooming in and keeping the background far from the subject.
Depending on which model camera you have, portrait mode may also enhance skin tones and soften skin texture.
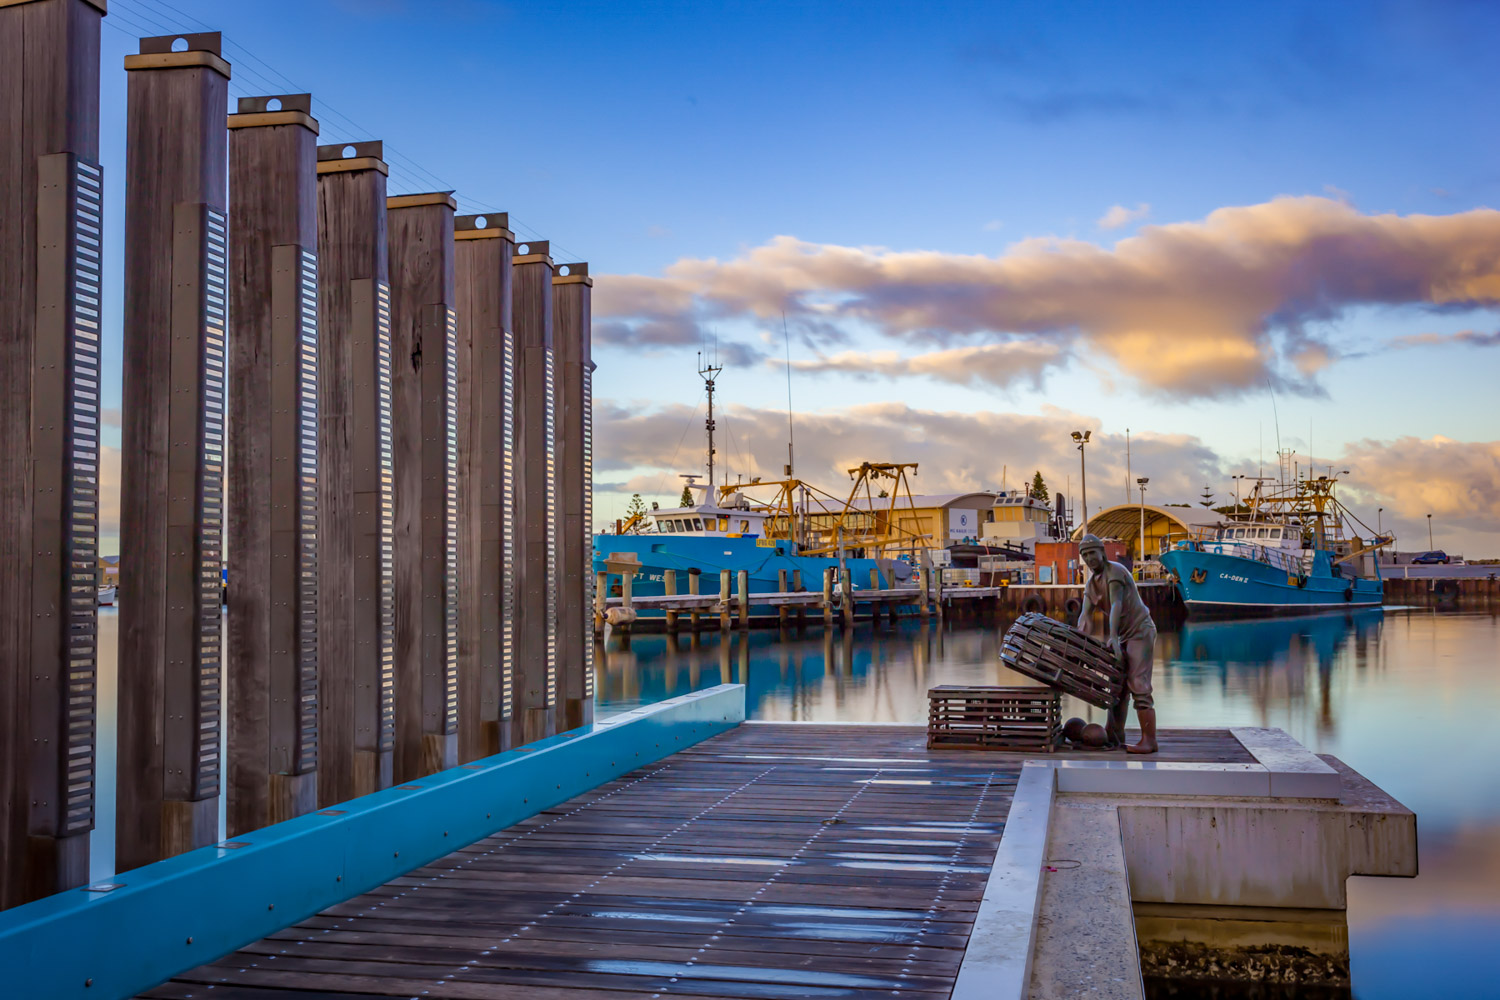
Landscape Mode
The camera uses a large F number to give a large area of sharpness. This means both the foreground and background are sharp. The camera may also make colours more vibrant.
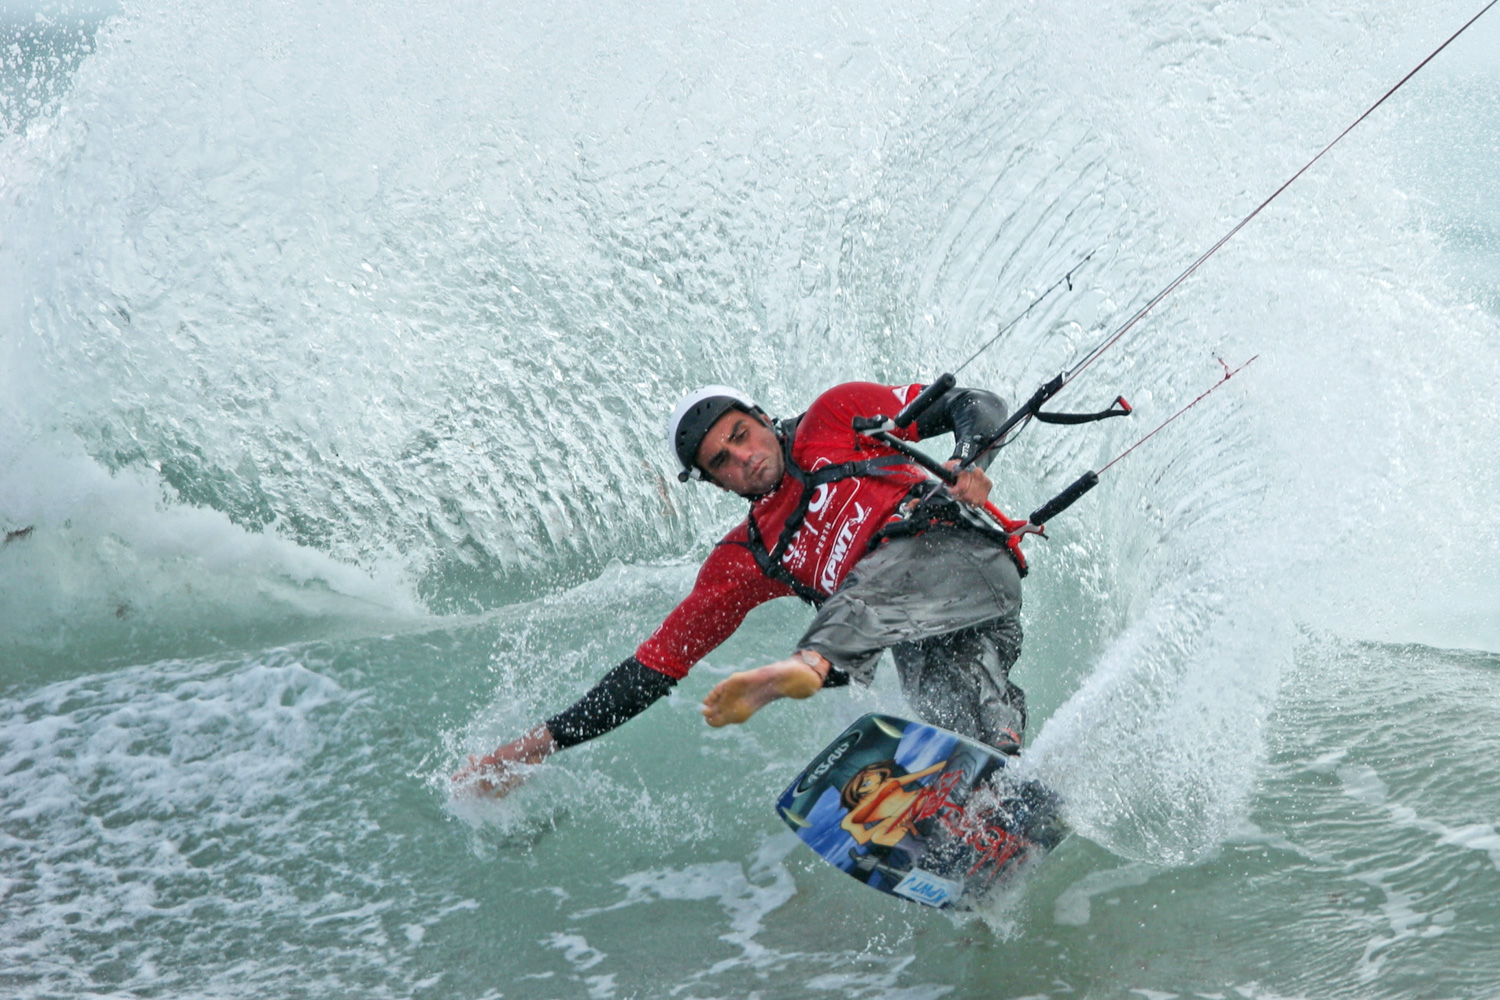
Action/ Sports Mode
The camera uses a fast shutter speed to freeze the action.
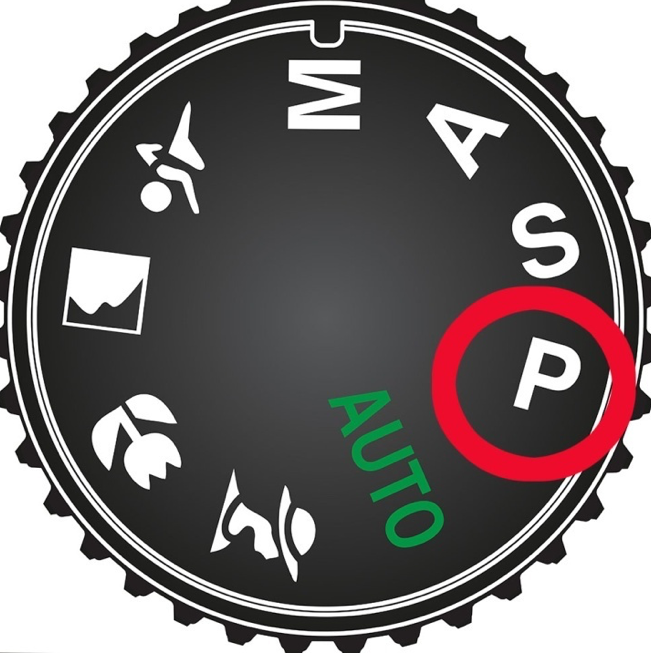
Mode P (Programmed Auto)
This is a great mode for beginners. The camera automatically adjusts exposure but you can control:
- Flash
- Exposure compensation (brighten or darken the image)
- Focusing
- ISO
Exposure
Getting the right amount of light. The image on the left (below) is underexposed. We have lost detail in the black suit. The image on the right is overexposed. We have lost detail in the white dress. Ideally we want detail in the highlights and shadows.
Underexposed, correctly exposed and over exposed images.

3 things control exposure
ISO
Refers to the sensors sensitivity to light. The higher the ISO the more sensitive your camera is to light.
The lower the ISO the better the quality as there is less noise. Noise is the grainy look in your photos.
Shutter
The length of time the curtain in your camera is open. This is measured in fractions e.g. 1/60 second.

Aperture
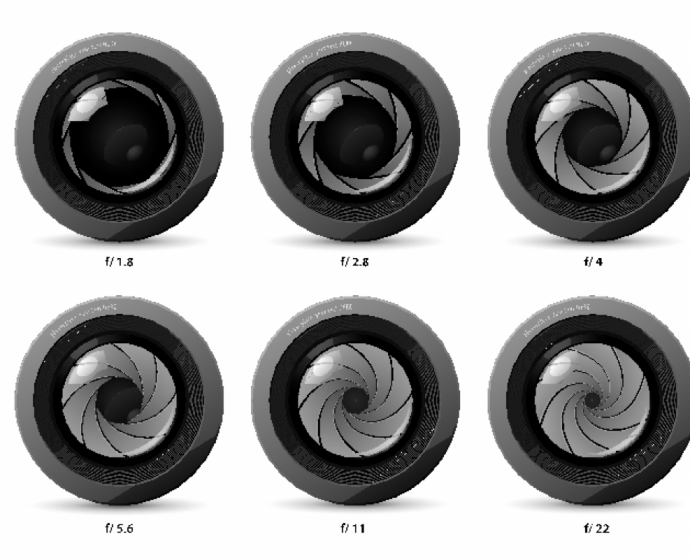
The hole in the lens which lets light through. The aperture controls the amount of light reaching your camera. The aperture is measured in f stops.
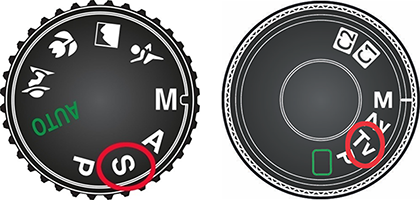
A or AV Mode (Aperture Priority)
You choose the aperture and the camera chooses the shutter. Use AV mode when you want to control background blur.
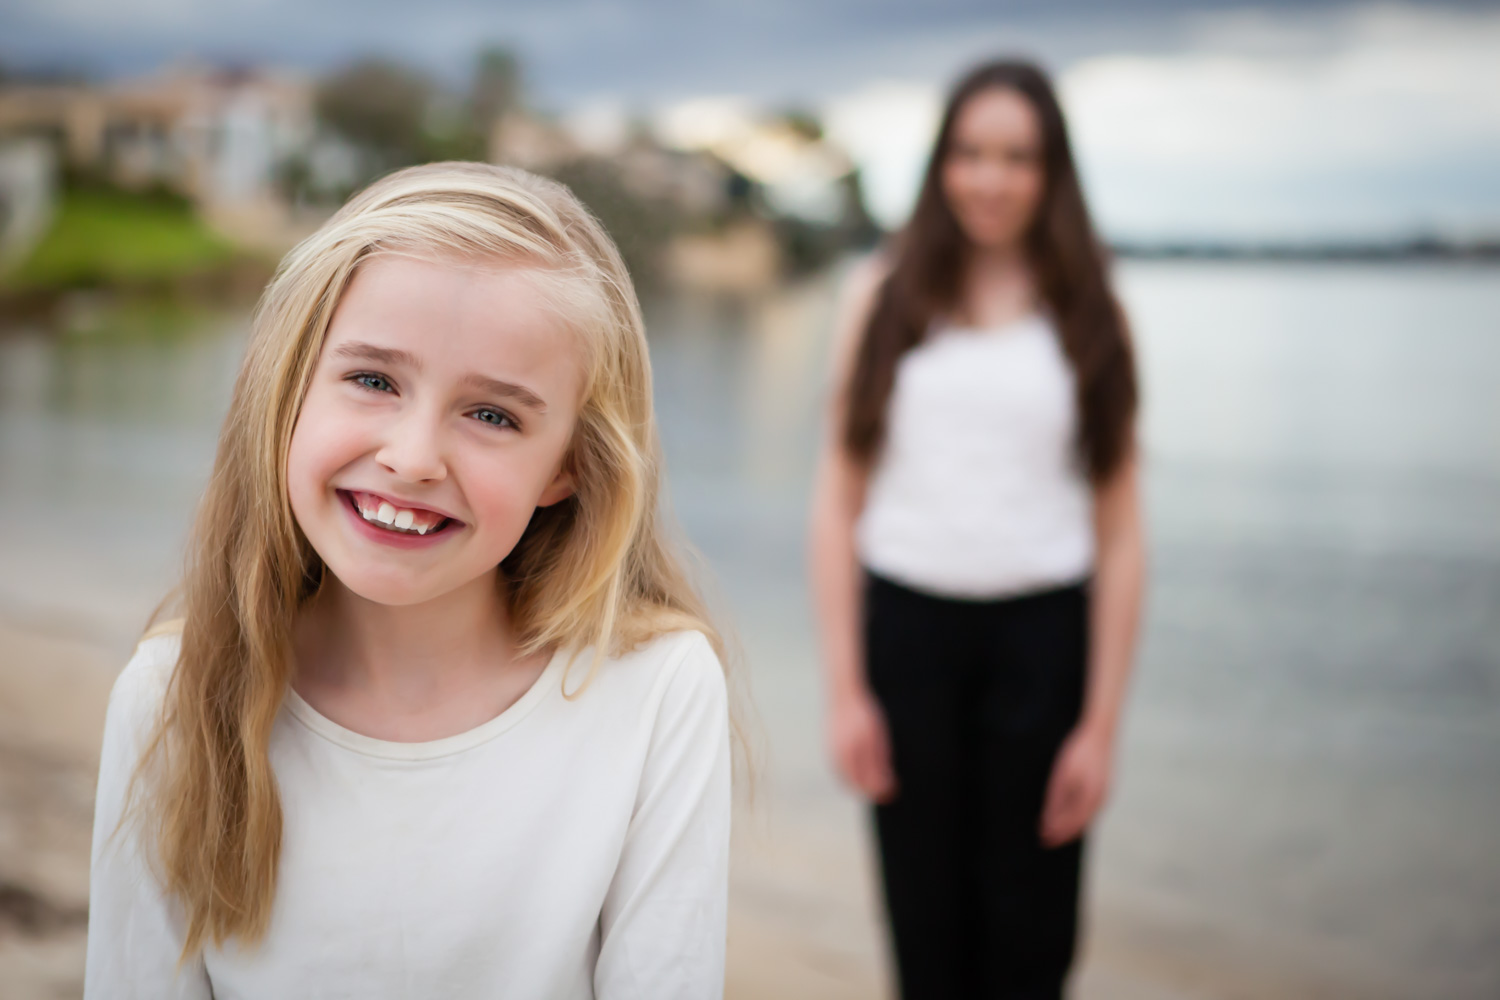
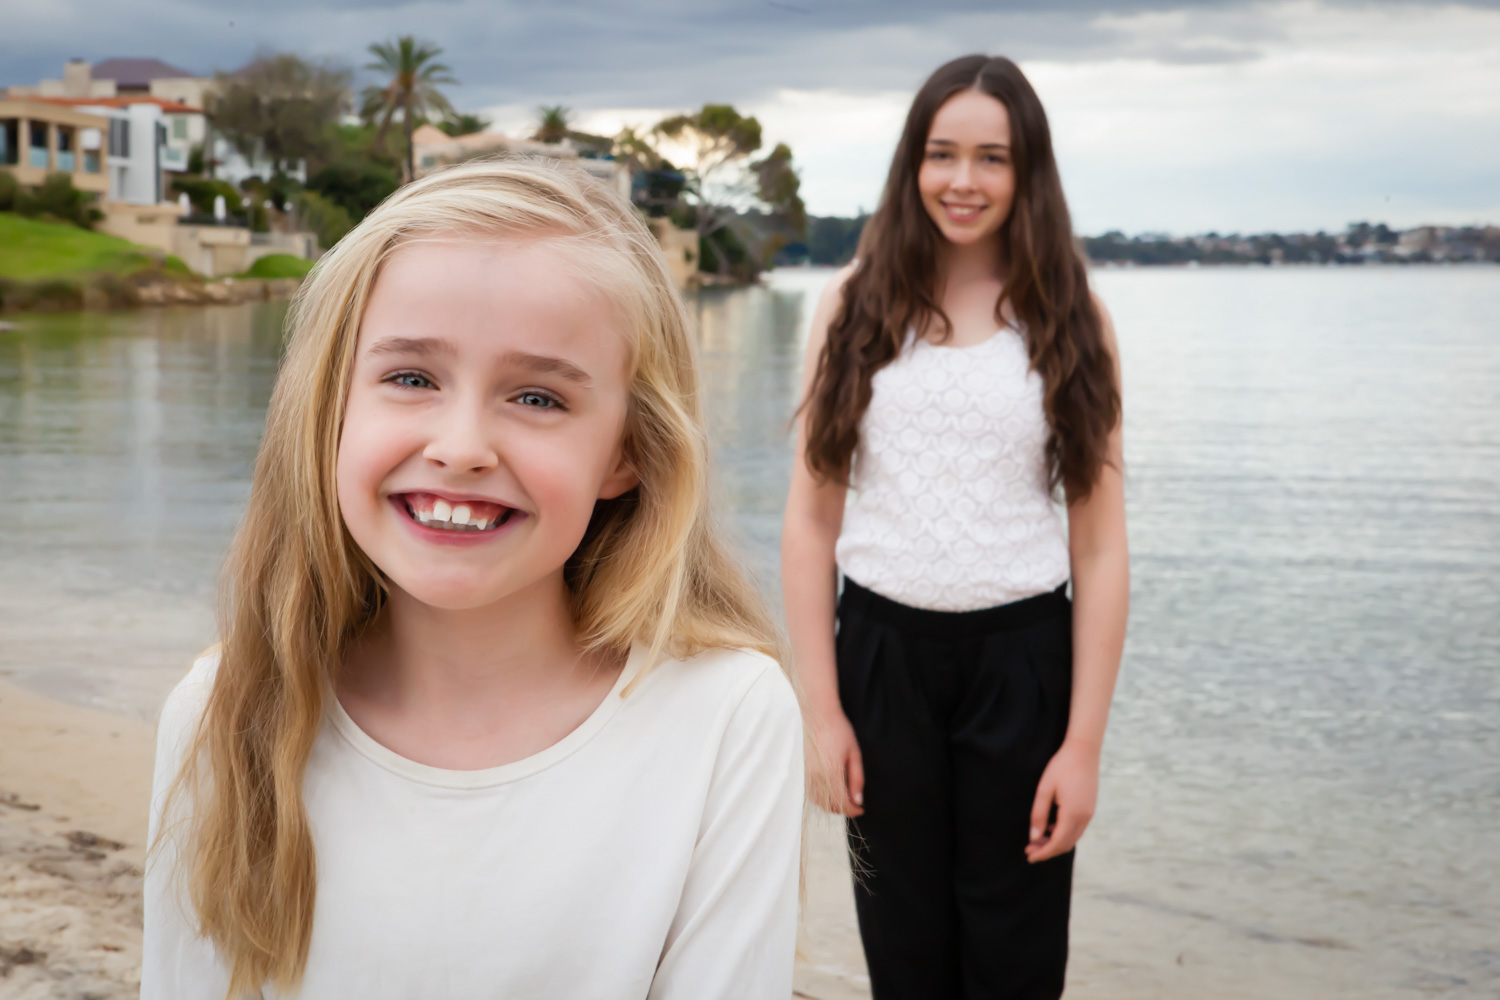
A small F number e.g. F 2.8 or F4 gives a small area of sharpness (small depth of field). The background is blurry. Commonly used for portraits. A large F number e.g. F14, F16 gives a large area of sharpness (large depth of field). Everything is sharp. Commonly used for landscapes.
The photo below was taken at F2.8.
The next photo was taken at F16
S/ TV Mode (Shutter Priority)
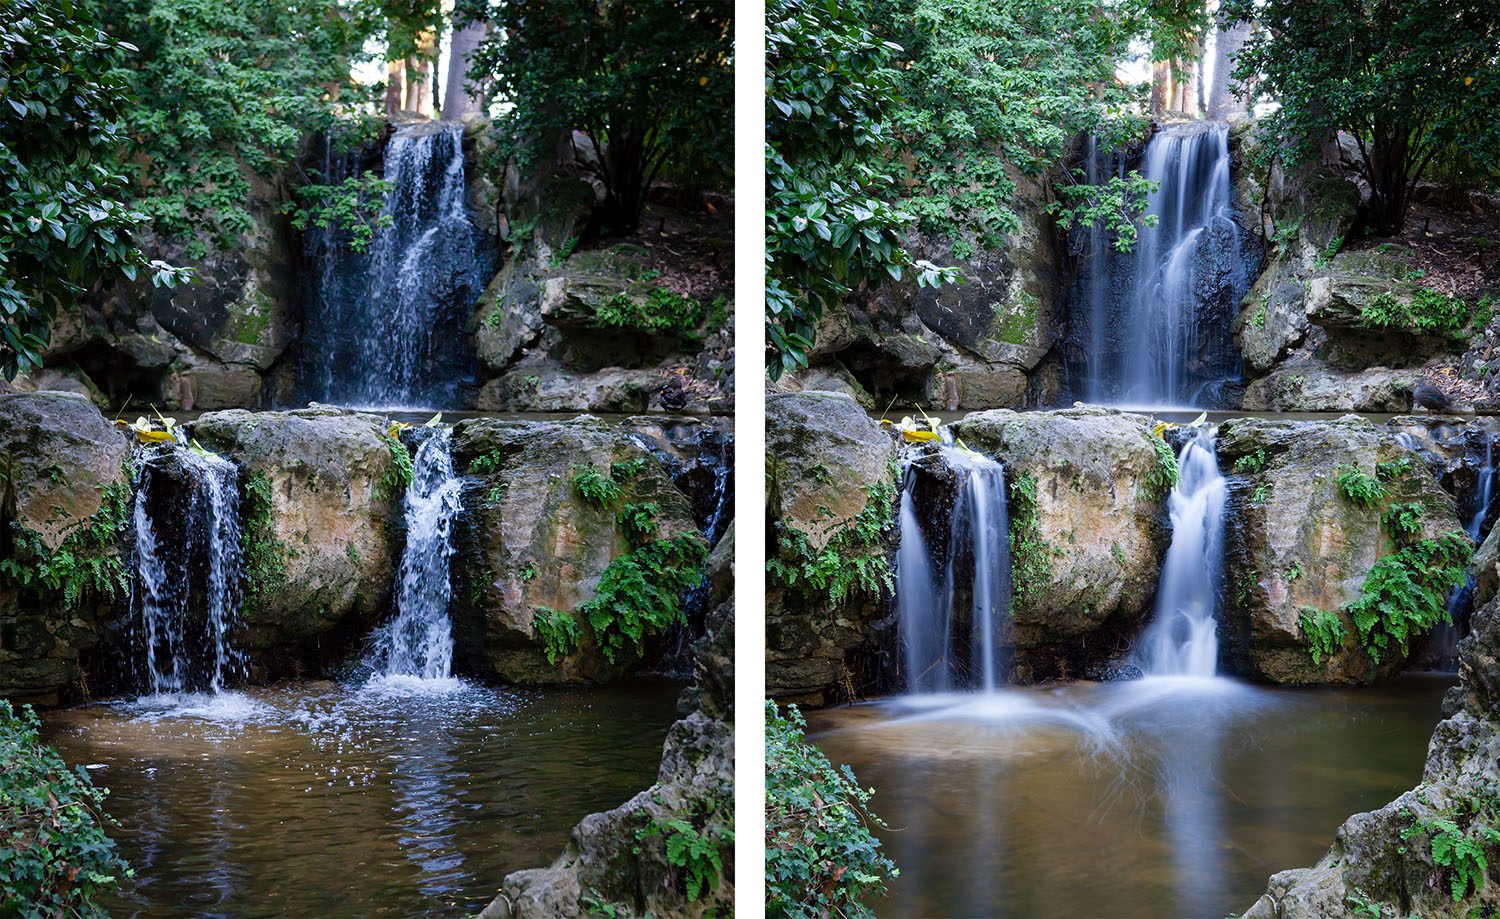
You choose the shutter speed. The images below shows two different shutter speeds. Fast shutter speed 1/200 sec vs Slow shutter 30 seconds.
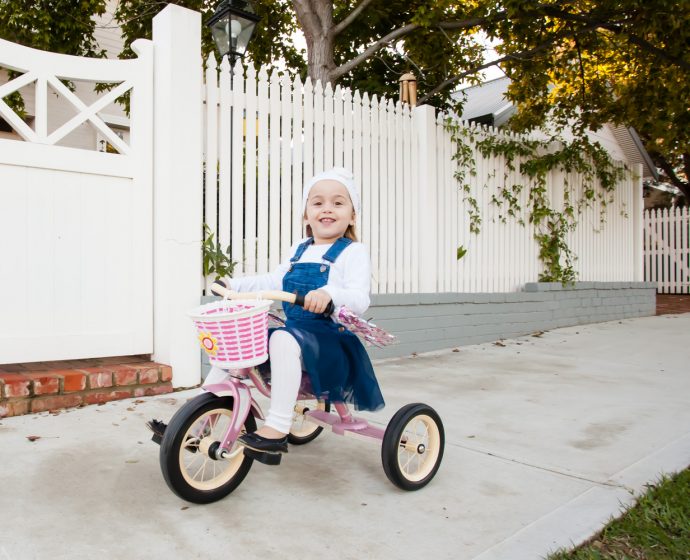
A fast shutter speed (faster than 1/200) lets in less light and freezes motion.
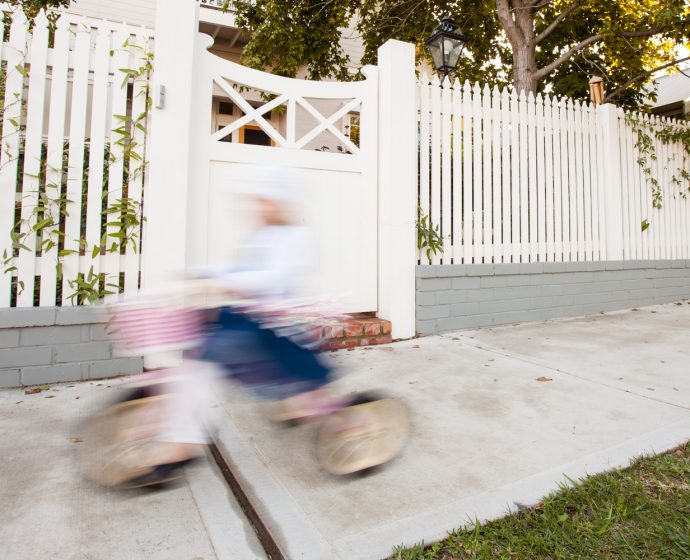
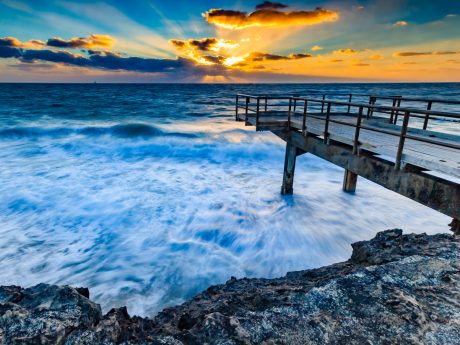
A slow shutter speed (1/60 or slower) lets in a lot of light and captures motion blur. Great for photographing waterfalls, or light trails from cars.
Manual Mode
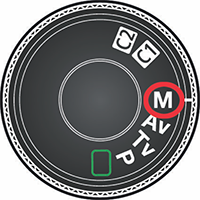
You control the aperture and shutter speed.
Manual is useful:
- in the studio when you are using off camera flashes and strobes.
- shooting at night.
- being creative
How to shoot in manual mode
- Choose the ISO
- Choose the aperture
- Set the shutter speed for a correct exposure




Comments